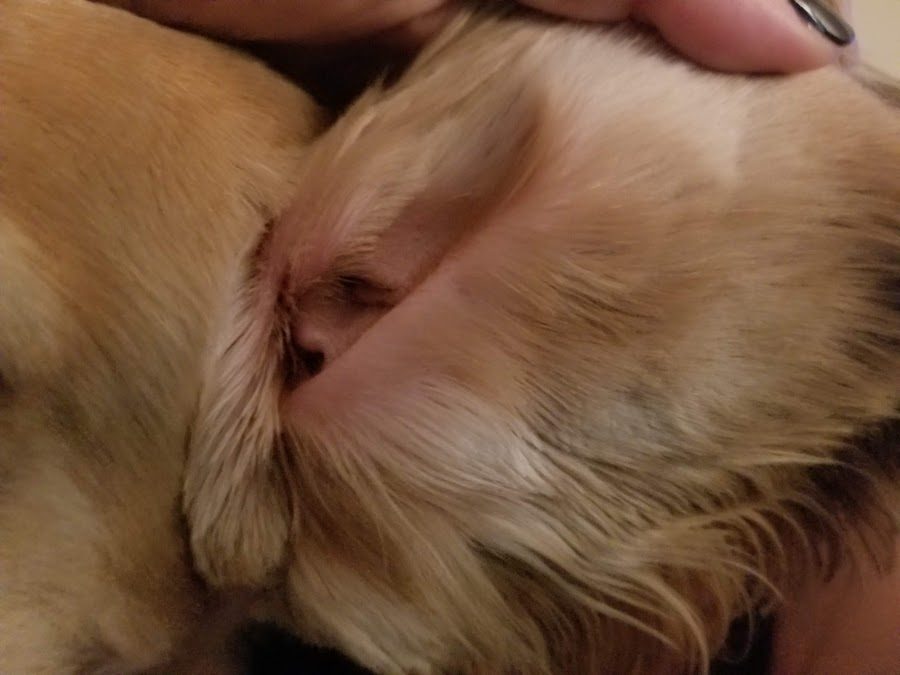
Properly Cleaning Your Pet’s Ears Between Grooming Appointments
Does your pet shake their head, or scratch at their ears frequently? It could possibly be an infection brewing. Bacteria, yeast, or even mites could be the issue. Check your pet’s ears for redness, odor, swelling and debris.
Proper cleaning…
Step 1: Choosing a Proper Ear Cleaner
I recommend a gentle cleanser for routine cleanings. I use an all-natural, chemical free, alcohol free product. It thoroughly cleans and leaves the ear smelling good, without drying out the skin of the ear.
Step 2: Cleanser Application
I place a dime size amount of the cleanser on cotton pad and then place it inside the ear. Next, using my index finger or pinky finger (pending on size of ear canal), I wipe the canal in an upwards motion. Please note, the ear canal of a dog is L-shaped, so you can only go down and up. Do this until there is no more dirt or debris visible on the cotton pad. Apply to both ears. Be sure to gently wipe the entire ear.
NEVER use Q-Tips, as they can break and become lodged inside the canal causing discomfort and requiring veterinary care.
Step 3: Drying of the Ear
Moisture can lead to yeast problems. Therefore, be sure to dry each ear thoroughly. Also, if you are applying medication to the ear, it should be clean and dry first.
This can be done at home, as well as by your Groomer. I recommend checking your pet’s ears weekly depending on breed. Always consult your veterinarian with questions and concerns. Routine ear cleaning will assist you in keeping your pet’s ears healthy and your pet happy.
215-723-2275

